Frontend Installation
- Local Setup
- Server/Aapanel Deployment
Frontend Local Installation Process
Step 1:
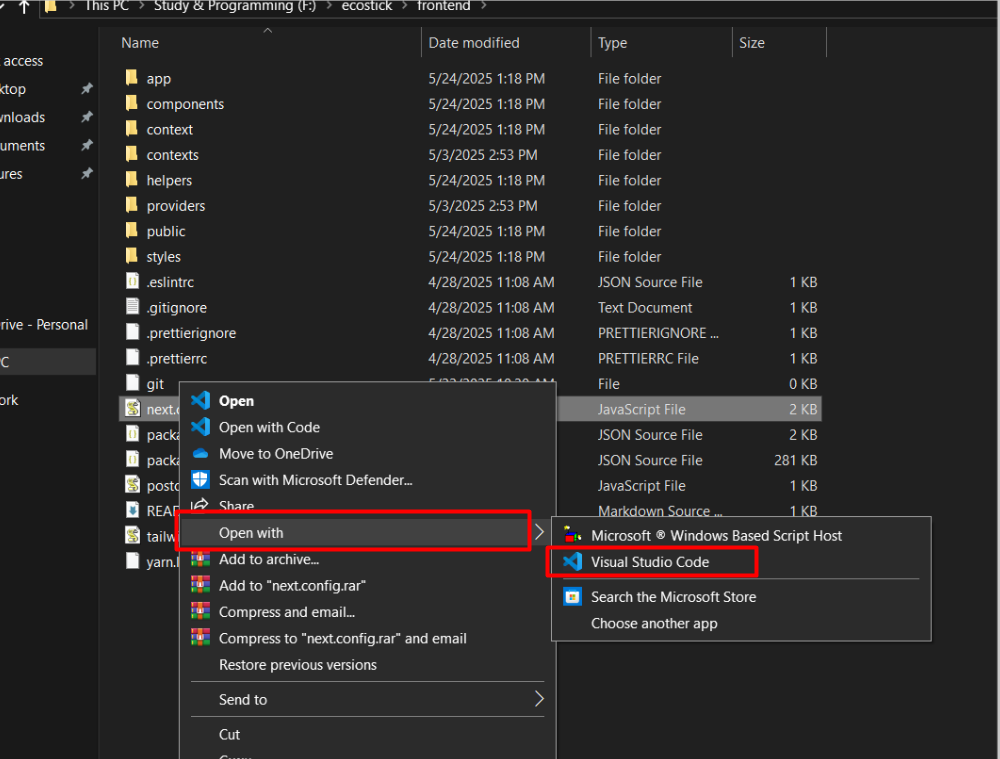
- Open the folder first.
Step 2:
- Find the next.config.js file and open it in your preferred text editor.
next.config.js example
Step 3:
- Update the necessary information in your website configuration, such as the BACKEND URL. Ensure you provide your personal backend domain or subdomain URL, and update the images domain URL as well. If you want to connect locally, add the local URL.
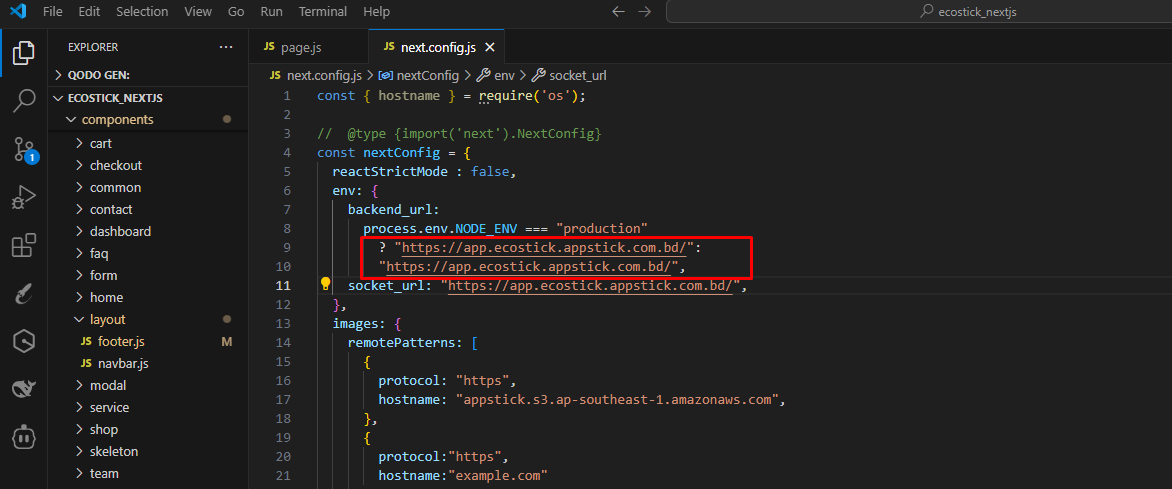
- Local Backend URL Example: http://localhost:3999/

Step 4:
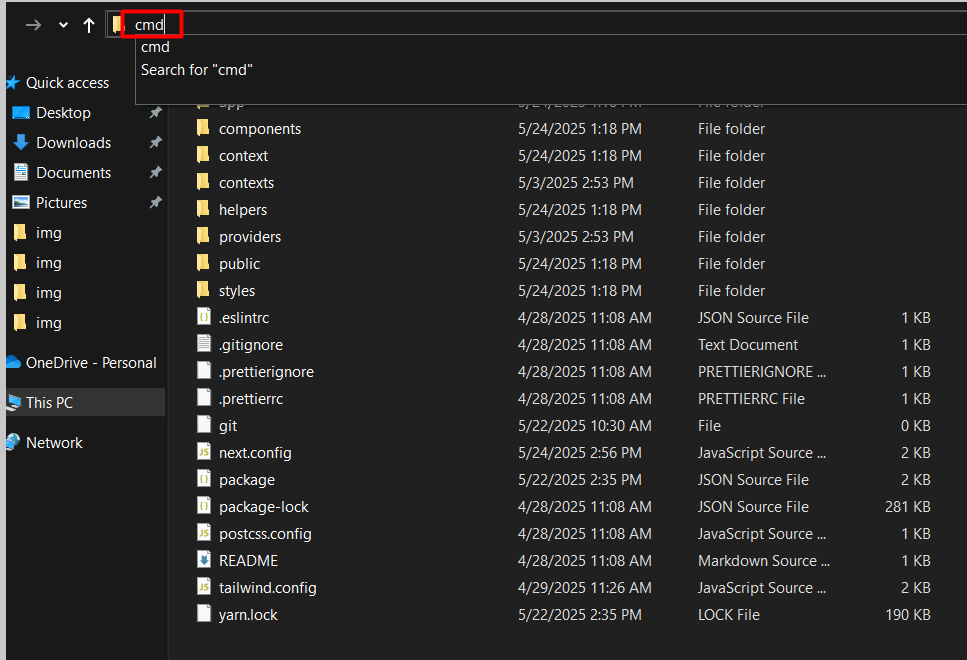
- Open your terminal or command prompt:
- For Mac and Linux users, use the terminal.
- For Windows users, open the address bar and type
cmdto launch the Command Prompt.
Step 5:
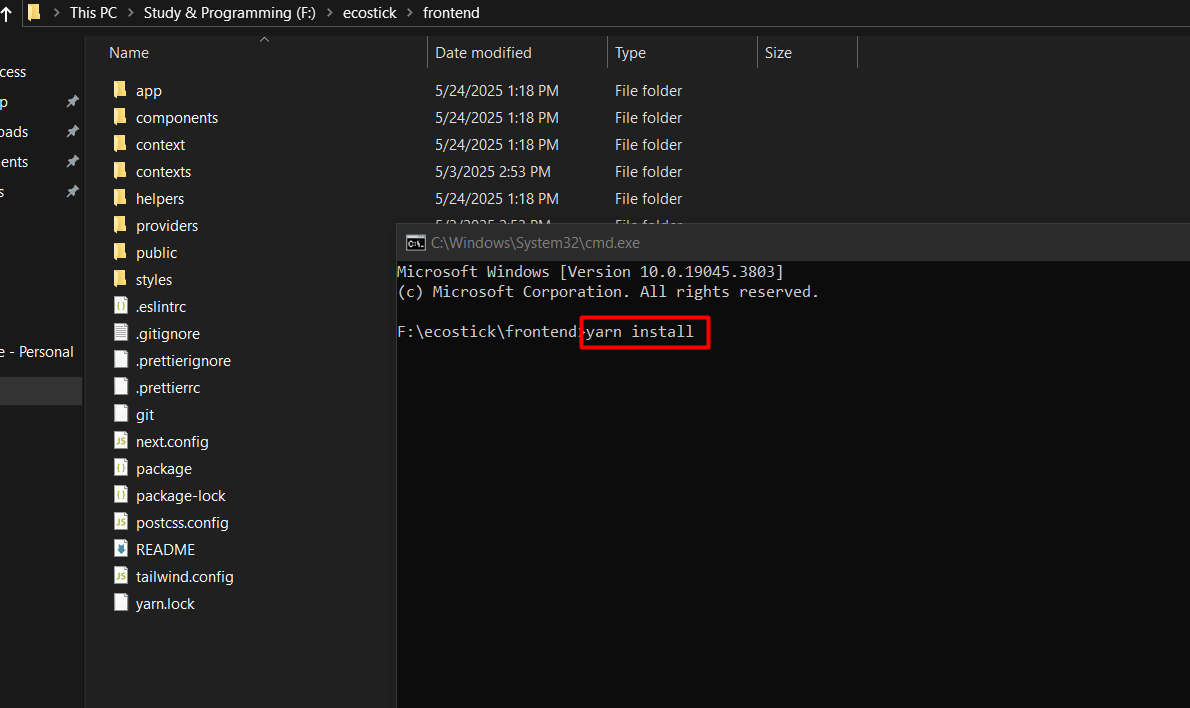
- In the command prompt, run the following command:
yarn installand hit enter.
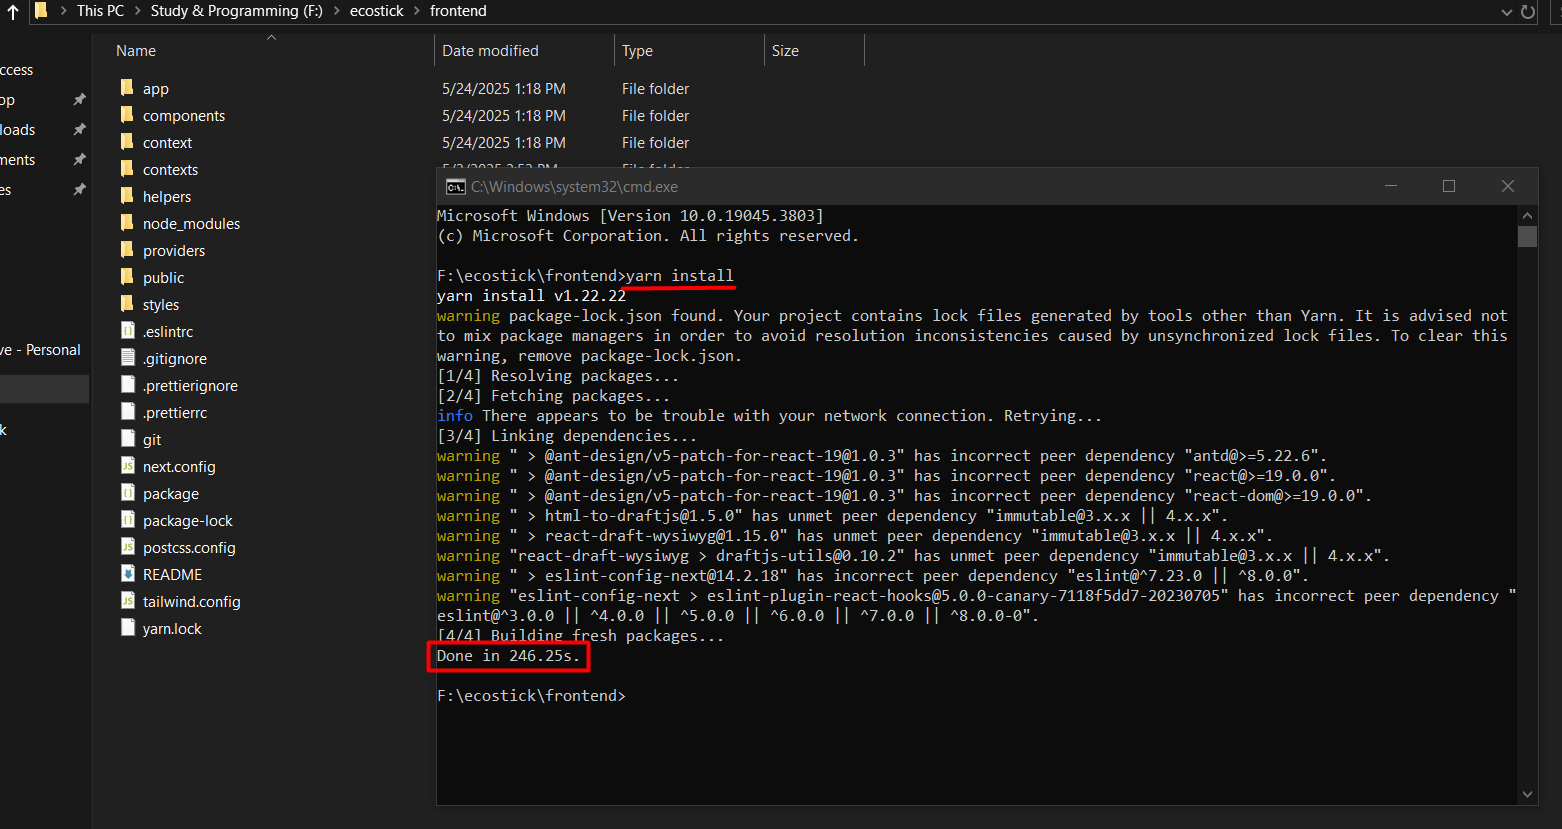
Step 6:
- After the installation is complete, build the project by running:
yarn buildand press enter.
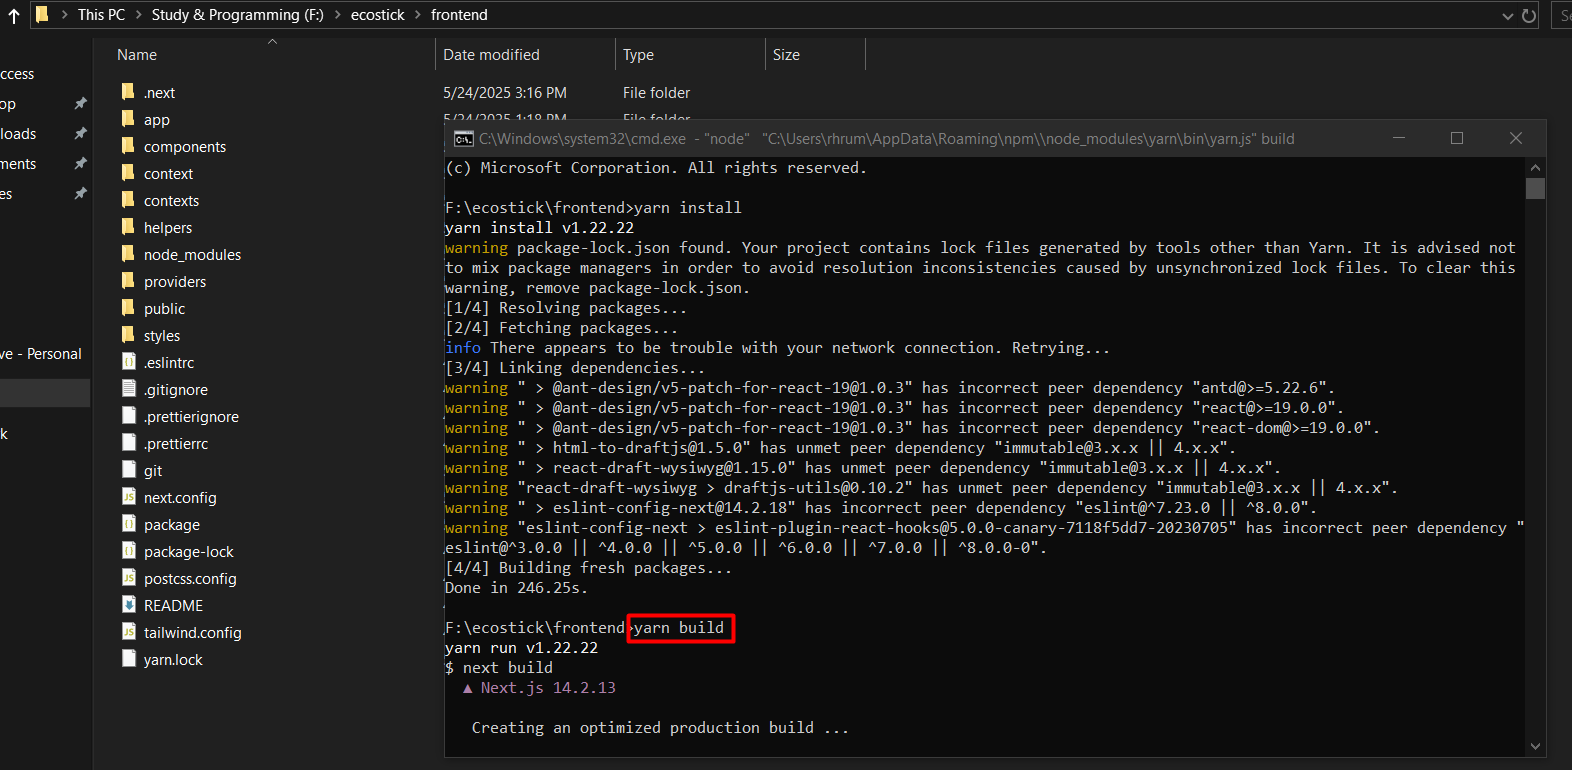
Step 7:
- Once the build is successful, you should see a confirmation message.
Step 8:
- Finally, you can run the project locally by typing:
yarn startand hitting enter.

success
Now your Frontend is running locally. You can access it via localhost:port.
Frontend Server/CPanel Deployment Process
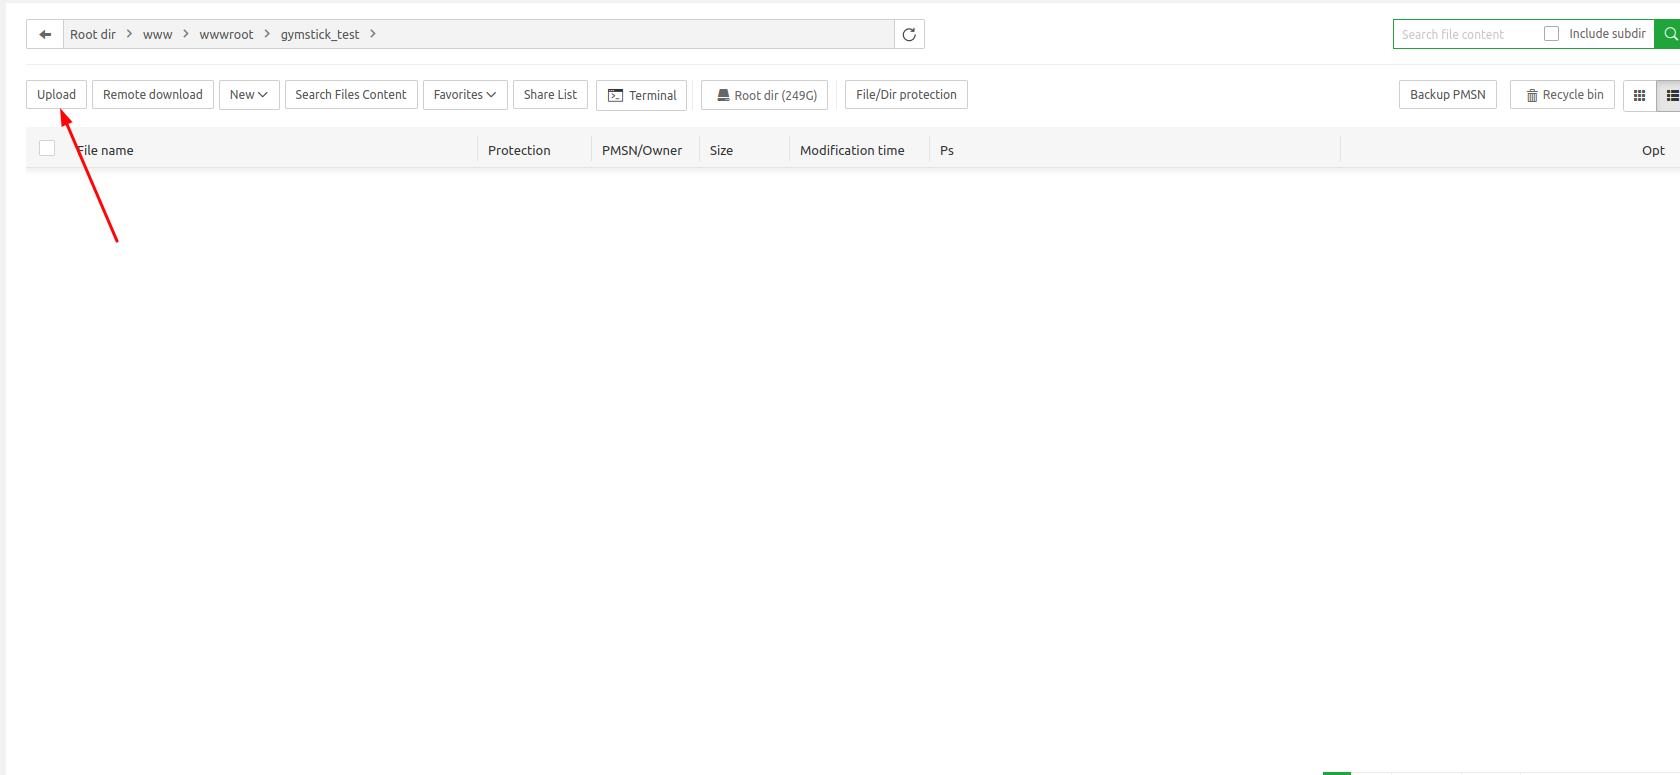
Step 1:
- Zip the
outfolder and upload it to your server.
!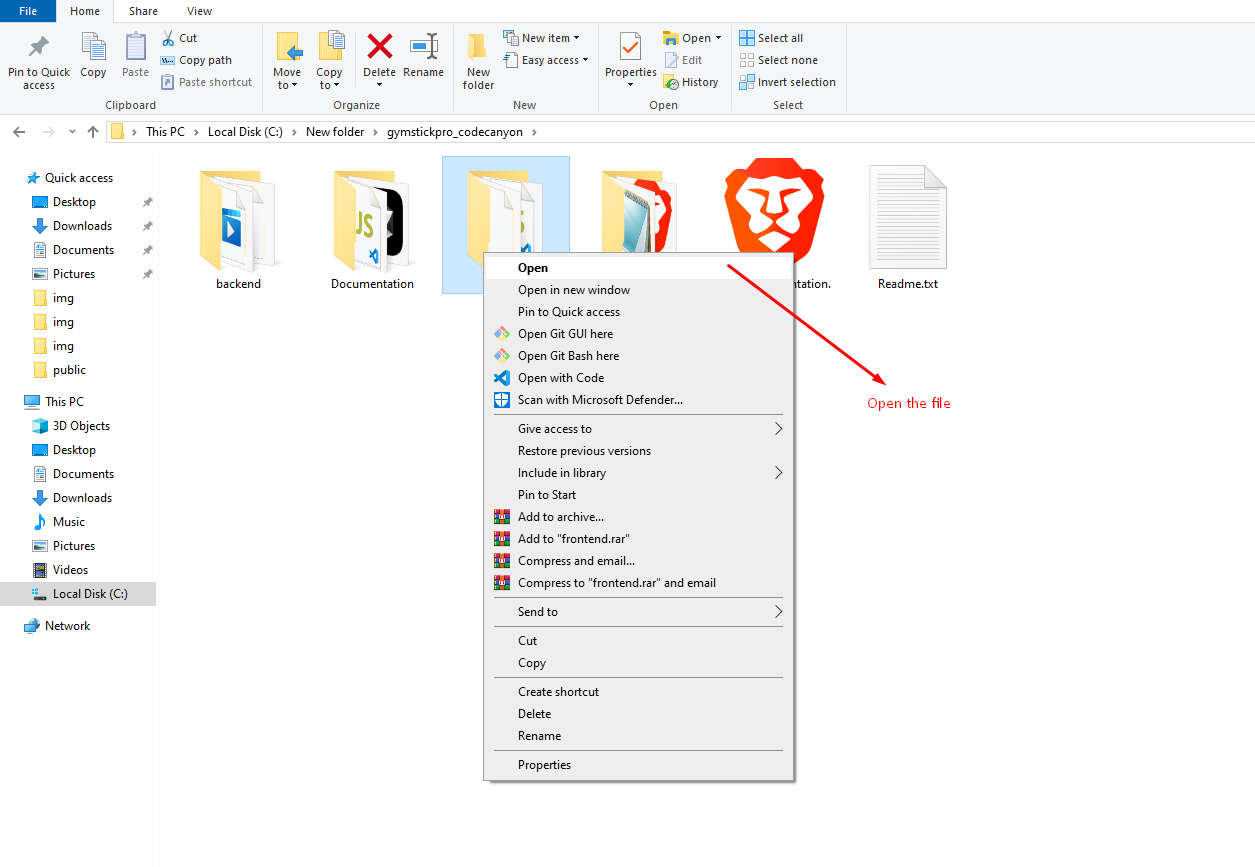
Step 2:
- Go to your server panel or cPanel, select your Document Root, and right-click on your mouse.
Step 3:
- Now follow the
backend installationprocess from Step 2 to Step 10.
warning
Note : In Step 7 of the backend installation process, in the domain name section, please confirm that it will be the root domain (Not a subdomain). For example, your_main_domain.com.
Step 4:
- After successfully completing all the processes, your website will go live. Visit your domain URL, for example, your_main_domain.com.